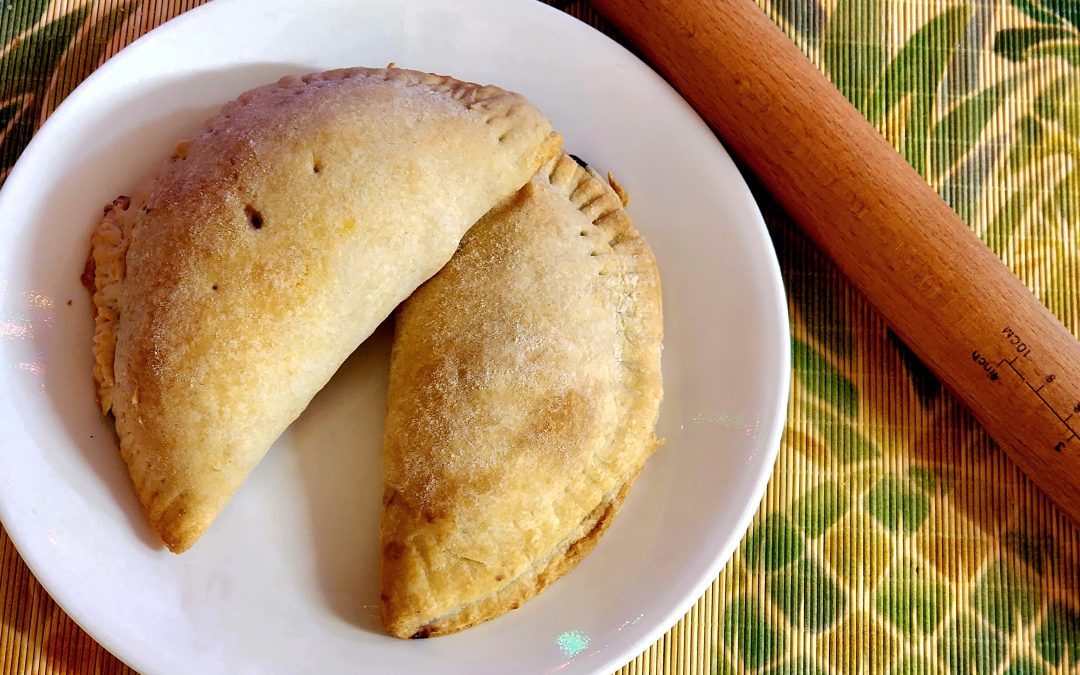
Paifala is a terrific recipe for the holidays or everyday, for that matter. It is one of my favorite Polynesian desserts, and luckily, it’s fairly easy, once you figure out how to form beautifully rounded handpies.
These handheld pies are a favorite in Samoa, and has migrated to many of the other islands. Aotearoa (New Zealand) has certainly put their own spin on this treat, along with some of the most delicious meat pies in the world. So if you travel anywhere in Polynesia, look to see if you can find them on the menu of a local bakery or food truck. You may even find versions in some of our food trucks here at the Polynesian Cultural Center.
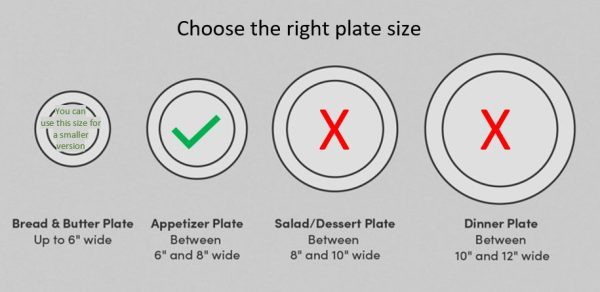
It took me about 3 tries to get a pretty good resemblance of the traditional pies, but I can assure you that each version was quite delicious, so have fun working your way through it – OR – take the time to review this paifala video by The Polynesian Kitchen, so that you can see exactly how it is done. The big secret is to keep the pie dough thick, don’t let it get ‘sticky’ and to use a typical 7 1/2 – 8″ salad plate to help, or if you prefer smaller versions, a 5-6″ saucer (note: I find the smaller versions much easier to handle and they keep their shape better). I made sure to include all of this in the instructions to help make your version a success from the first try.
You will also notice that I have included instructions for achieving a vegan version, which I promise you, is as delicious as the regular one.
Completed Paifala pies with a pinched crust edge
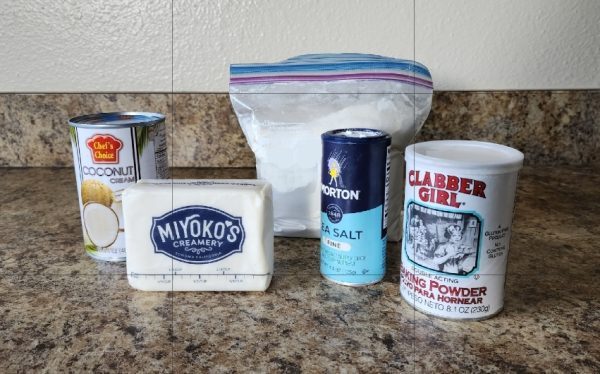
INGREDIENTS FOR PAIFALA
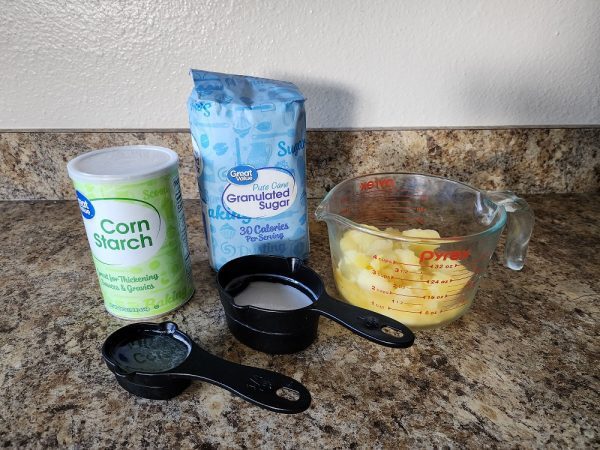
Ingredients for paifala custard filling
Custard Filling:
4 cups fresh or canned crushed pineapple, drained (save juice to add to required amount of pineapple juice)
2 cup sugar (consider using raw sugar for a healthier alternative)
1/2 cup cornstarch
1 cup coconut cream (you can substitute milk or cream, if you prefer)
Optional: If you prefer a waterbased pudding rather than creamy custard, substitue 1 cup water for this step (this is over and above the 1/2 cup used to liquify the cornstarch)
1/2 cup pineapple juice
INSTRUCTIONS FOR PAIFALA FILLING
If you are using fresh pineapple, chop it into very small and even pieces. It is also important to fully drain the pineapple juice. Do this by placing a collandar over a similar sized bowl. You can use a large spoon or rubber spatcula to press the pineapple
You do not need to cook the filling thoroughly, but make sure that it is thick enough to be held within the raw shell while forming
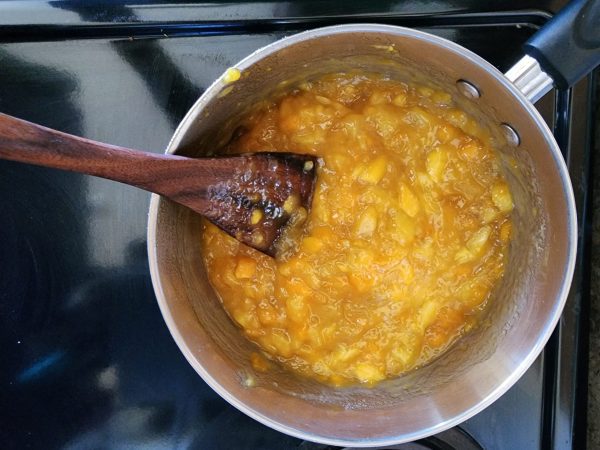
Combine pineapple, sugar and milk into a saucepan. Heat on medium until sugar has disolved. Remove from stove top.
Thoroughly mix cornstarch with the 1/2 cup pineapple juice until the cornstarch has disolved. Spoon it carefully into the heated pineapple and stir until thoroughly mixed. Let cool while preparing the pastry. You want it to be fairly thick so that the pie can hold it’s shape.
Ingredients for the Paifala pineapple custard filling
Pastry Crust:
5 cups flour
3 teaspoons baking powder
1/2 cup (1 stick) butter (best if used cold from the refrigerator). I recommend you chop it into small pieces so that it combines easily.
1 can (14 ounces) coconut cream
INSTRUCTIONS FOR PAIFALA CRUST
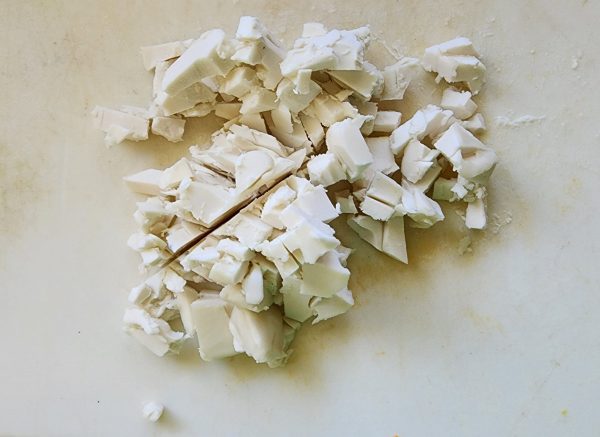
Chop your cold butter into small pieces before adding to the flour
Add all ingredients to mixing bowl. Mix with a pastry cutter or fork until a smooth ball forms. You want it to feel rather like playdough, soft, but able to hold it’s form without ‘falling’.
Optional: place flour, baking powder, and butter into food processor. Hit “pulse” 5 – 7 times, until mixture resembles the consistency of crushed cookies. Add coconut milk and hit “pulse” 2 – 3 more times. Remove from blades carefully (I use a cutting glove here to protect from cuts – best invention ever!)
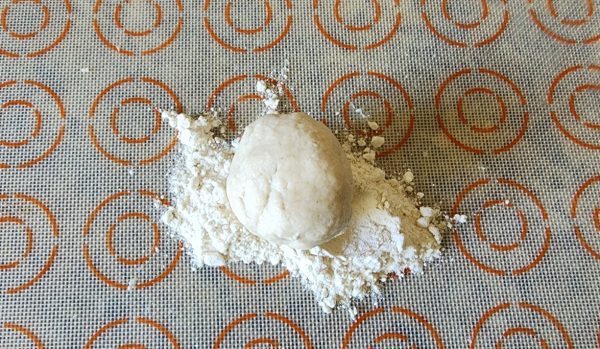
The ideal pastry feels soft, yet holds it’s shape
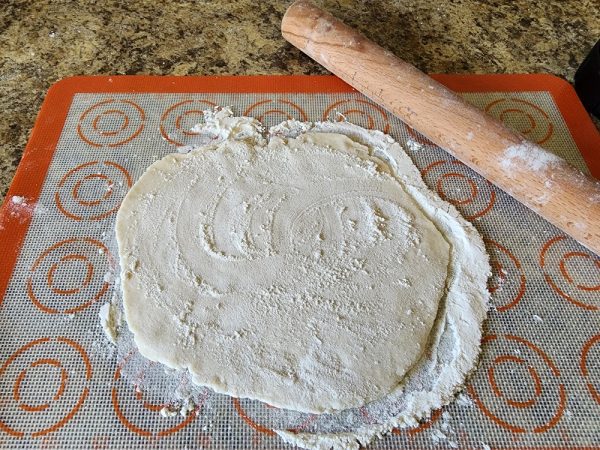
Roll out your pastry to reach past your plate size and trim once placed
Divide dough into 6 pieces and roll each out into an 8-inch circle on a well floured and clean surface. After forming each circle, dust evenly with flour and place on a dry cookie sheet.
Note: A handpie needs to carry the weight of the filling, so make sure that your shell is close to double the thickness as a typical pie crust. If you follow the directions perfectly, and divide the pastry into 6 even balls, the hard work is already done.
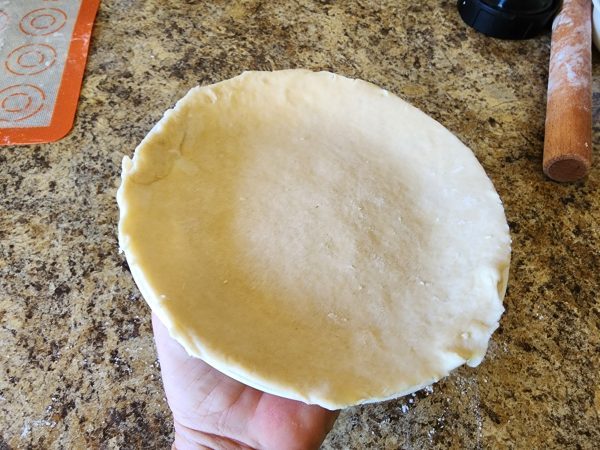
Your piecrust is ready to fill – note the ‘bowled’ effect
Taking one circle, place it perfectly centered across an 8″ salad plate that provides a shallow indent. This is used to accentuate the roundness of the ‘moon-pie’ (which means it is rounded on both sides rather than flat on one side). (NOTE: I experimented a LOT and found that I preferred using a 5-6″ saucer, at least for my first few batches – as they were easier to handle and maintained their shape while I learned how to form them.)
.
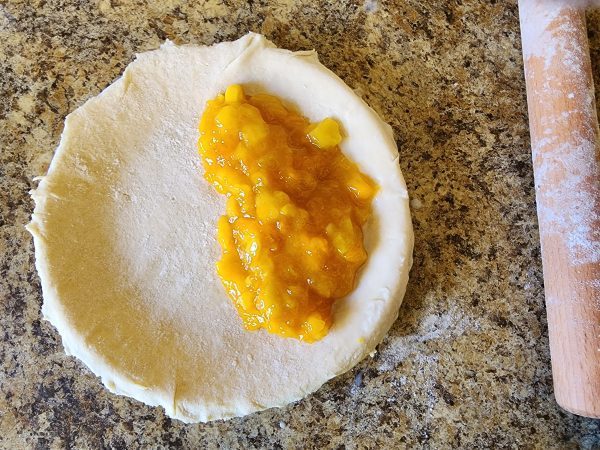
Place the filling carefully so that it starts at the center and leaves a generous edge for the crust
Spoon equal amounts of filling over one half of the pieshell. Use enough filling to insure that it has a nice, round dome, but keep no less than 1 inch of the rim of the circle free of filling so that you can seal it.
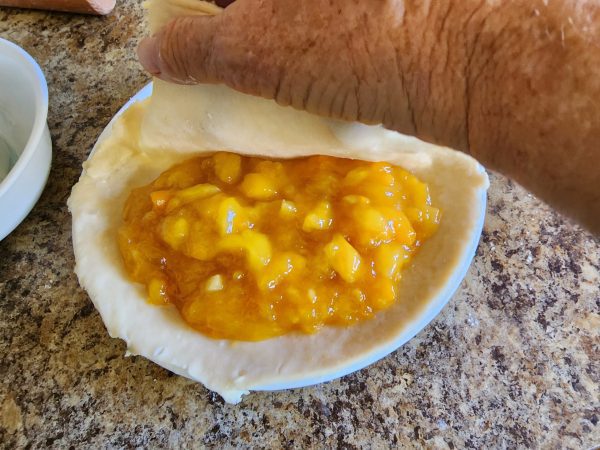
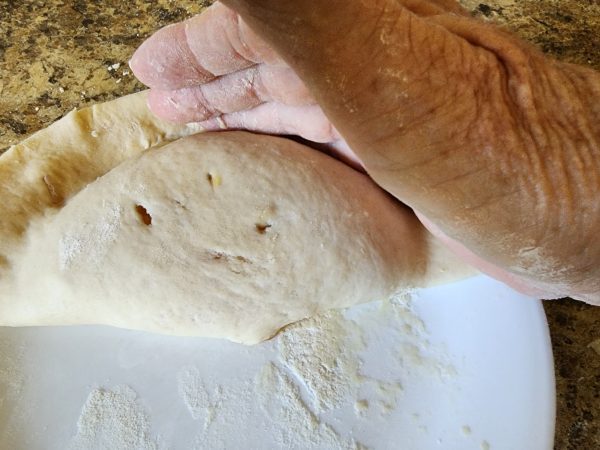
Make sure you gently fold the crust over the pie with a light pulling action.
Now here is the tricky part. As you pull the dough over the top to form a half circle, work hard to keep the filling round and to avoid air gaps. Lay the pasty lightly over the top (again, making a perfect half circle. Quickly cut three vents along the top to let out air. Do not ‘seal’ until you look to see if the pie has flattened a bit. If so, use flat fingers to ‘press’ the filling back towards the middle. It is important that this step is done quickly, as the pastry will become ‘gummy’ if you fuss and worry over it. I suggest that you watch this video, by “The Polynesian Kitchen” showing exactly how it works (the forming of the pie starts at the 5:21 minute mark).
Gently press the filling towards the middle while forming the crust, trim the edges if needed
Now press the edges together and ‘seal’ the outside edge with a fork.
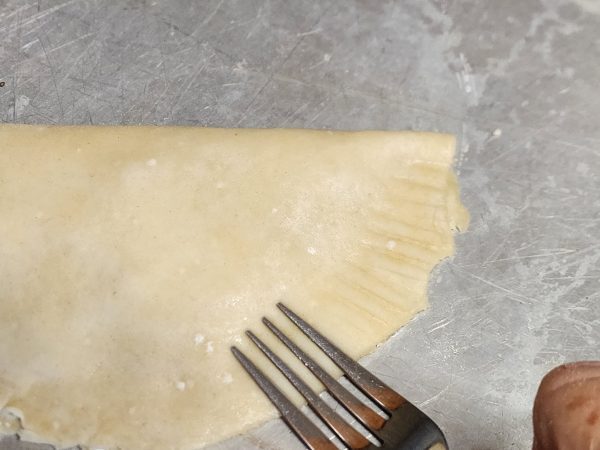
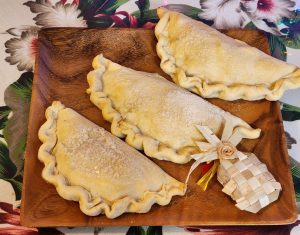
‘Crimp’ the edges firmly with a fork (note, this is an earlier version, hopefully your pie will be more rounded than this!
Brush the top with an even amount of coconut milk for a shiny top, dust lightly with sugar. Place on a lightly oiled cookie sheet with plenty of space in between each pie in order to allow even browning.
Cook in a preheated 350° oven for 25 – 30 minutes or until just turning golden.
Cool on wire rack.
Enjoy!
Options:
Substitute mango or papaya for pineapple (but still use pineapple juice). Better yet, use a combination of these to make it a tropical delight!
For a vegan version, simply switch to plant based butter for the shell and coconut cream for the filling.
Want to try some other great Samoan desserts? Here are just a few from Eat Polynesia!, sponsored by the Polynesian Cultural Center in Laie, Oahu, Hawaii.
Supoesi: Traditional Samoan Recipe – polynesia.com | blog
How to Make Koko Alaisa | Polynesia.com
Samoan Panikeke Recipe Samoan Panikeke Recipe | Polynesia.com
Pani Popo Recipe | Polynesia.com
Bio of Nina S. Jones, Blogger for the Polynesian Culture Center
 Nina Jones, a mainland gal from way back, is now a transplanted Islander. With her husband of 39 years, she volunteers at the Polynesian Cultural Center. Her hobbies include swimming, traveling, studying and writing about what she is learning from the various Polynesian cultures. Her blogs focus on their history, beliefs, practices and – as an added bonus – delicious food! To her, Polynesia is not just a place to visit, it is a way to live and she is very honored to be able to be a part of their amazing world.
Recent Comments